
What it is folks!
Recently I helped with a demo and was responsible for creating an Essbase cube in the Cloud to be used for data visualization. For those of you that don’t know, the all mighty Essbase has been available in the cloud for a little more than a year now and it is bundled in Oracle Analytics Cloud (OAC), which includes Essbase Cloud (EssCS), Business Intelligence Cloud (BICS), and Data Visualization Cloud (DVCS). There are plenty of great blogs and articles out there on OAC so I won’t spend too much detail on it here. However, if you haven’t checked it out, it is pretty awesome and so easy to learn!

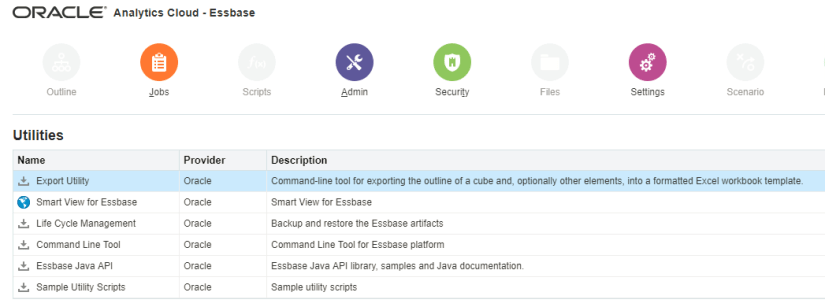
Now, there are many ways to migrate on-premise content to EssCS. OAC comes with a few utilities to assist users in migrating their on-prem cubes to the Cloud. For example, there is Life Cycle Management (LCM) and the Command Line Interface (CLI). The LCM utility is used to export the cube from the local server and the CLI is used to deploy it up to the cloud. You also have the Export Utility, which exports a cube into a formatted Excel workbook.
These tools are all well and good, and with a little practice (and reading up on the Essbase technical reference guide), you’ll be able to export and import cubes in no time. But the demo I worked on wasn’t taking an existing on-prem cube and placing it in the Cloud. Oh no, it was taking an on-premise Hyperion Public Sector Planning and Budgeting cube and placing it in the Cloud [Gasp]!
This is not the first time I’ve head of organizations using both Hyperion and Essbase together, especially in the Cloud. EssCS allows analysts to do so much more with their data than Hyperion Planning, Planning Budgeting Cloud or even Enterprise Planning Budgeting Cloud allows them to do. But migrating cloud solutions to EssCS is a piece of cake using the utilities I mentioned above. However, when you don’t know the server and port number, or any other kind of information, what do you do?!

Process
After searching endlessly on the web to find some guidance and coming up empty, I decided that my only course of action was to create the cube from scratch. Here’s how I did it:
Export metadata files
The first step was to export all of the metadata files from Planning. This can be done a few different ways. The easiest way is within the Planning application:
- Click to “Administration”->”Import and Export”->”Import Metadata from File”. This will open the “Import and Export” screen.
- Select the dimension name at the “Dimension to Import” drop-down.
- Select the (CSV) file at the “Metadata File to Import” by clicking to “Browse” button.
Cube Designer


Once I had all the dimension files, it’s time to start building the cube. There are plenty of ways to do it, but since I have my dimension build files, I went with the Cube Designer method. The Cube Designer is an add-in for Microsoft Excel that allows you to build new cubes and update existing ones (you can download and install via Smart View).
Once in the Cube Designer, five tabs guide users in creating an application workbook, which is essentially a Microsft Excel workbook comprised of the data from the five tabs. Once you have filled out a tab, you select “To Sheet” to populate the workbook. For my demo, I added the dimensions that I needed, updated the settings, and pushed the information to the workbook to create a “shell.”


Here is an example of some of the tabs:

Once I had my shell, I could then start copying and pasting my metadata into the workbook.


The great thing about Cube Designer is how easy it is to add and remove dimension settings to and from the workbook. This made copying and pasting a breeze because I could format the source files to match the workbook.
Build the cube
Once I was done building out the dimensions, it was time to build the cube. This was a breeze because all I had to do was click on Build Cube, save my workbook, and click Run!


I could have also imported the workbook through the web user interface.
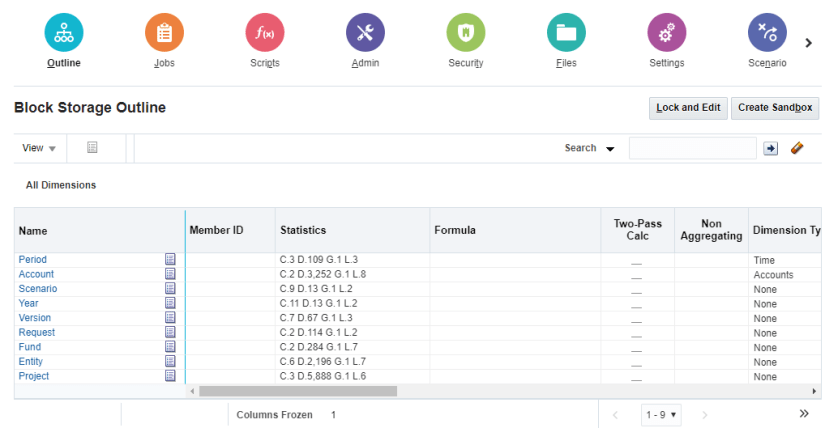
And voila, a built out cube matching the Planning dimensional hierarchy!
Adding Data
The last step after building the hierarchy was to add data. Now I’m not going to lie; I was a bit nervous because I wasn’t sure if I had to manipulate the data file and if I did, that was going to be a pain in the you-know-what. So with that in back of my head, I reluctantly exported the data file from Planning (same process as pulling the metadata files) and uploaded the data into the cloud.
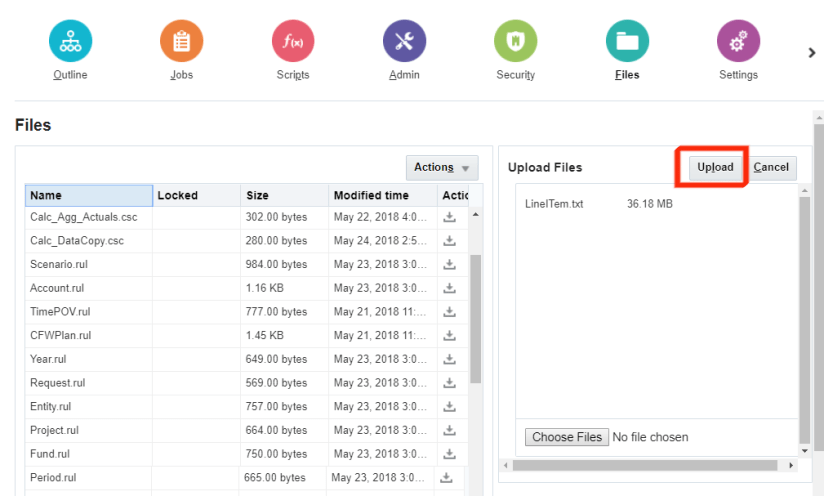
Once the file was uploaded, I clicked on Jobs and then clicked on New Job:

I chose Data Load as the Job Type, and selected the data file:
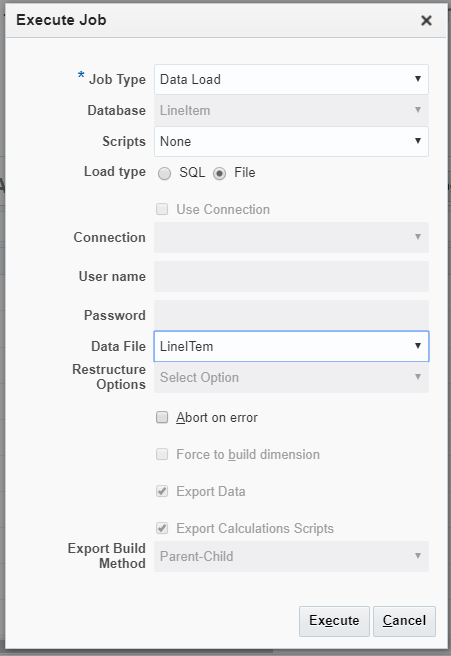
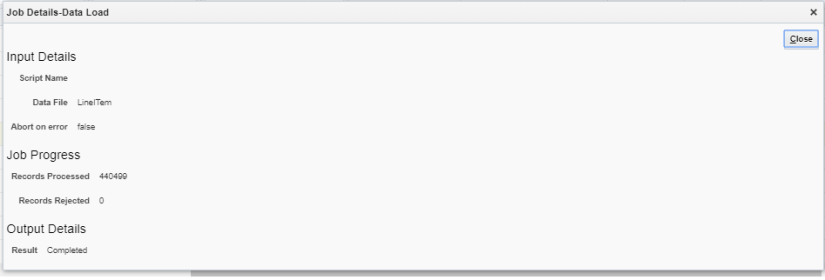
And finally, closed my eyes and clicked Execute. After 22 seconds, lo and behold I see a green check mark in the Status column! To ensure I wasn’t crazy, I clicked on the Job Details icon on the right-hand side and confirmed that 440,499 records were successfully loaded, and 0 rejected.
In retrospect, I shouldn’t have been worried because when we look at the data file:
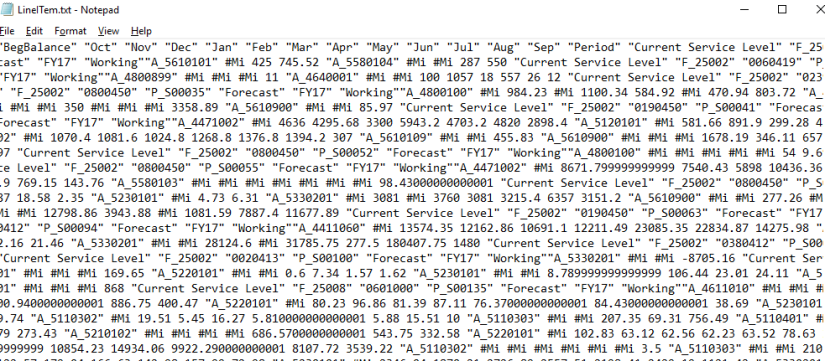
it is what we would get from an EAS export, and if this file can be loaded into Planning on-prem without a rules file, then it certainly should be fine being loaded into OAC Essbase without a rules file. I guess knowing is half the battle, or something like that…
Summary
I am sure my colleagues are reading this and shaking their heads and saying, “teach people how to use Command Line Interface” or “teach them MAXL” and they’re right. But when you’re not as technically minded or your brain just doesn’t work that way, you have to find ways to get things done quickly, and I, believe me, get it.
In this post, I detailed how to move a dimension hierarchy and data from an on-prem Planning application into OAC Essbase. The steps listed could also work if you are moving from Essbase on-prem to the cloud, but as I mentioned earlier, there are easier methods that after a little practice, you’ll be ready in no time (you can also find plenty of online material on this as well).
Till next time!
